How to Retain Quality and Avoid 2-Step Plastic Injection Mould Defects
Some Common 2-Step Plastic Injection Mould Defects and How to Avoid Them
When it comes to a 2-step plastic injection mould process, there is a lot of room for errors. These errors can range from small surface defects to bigger problems that can affect the safety, functionality, and performance of the product.
These problems can be either caused by material use, moulding process, tooling design, or a combination of all three of them. Therefore, it is extremely important to identify these problems at the earliest so that you can avoid them.
This is why we have come up with this guide for you. Here, we will discuss all the common problems that can arise and how to avoid them. So, let’s get started!

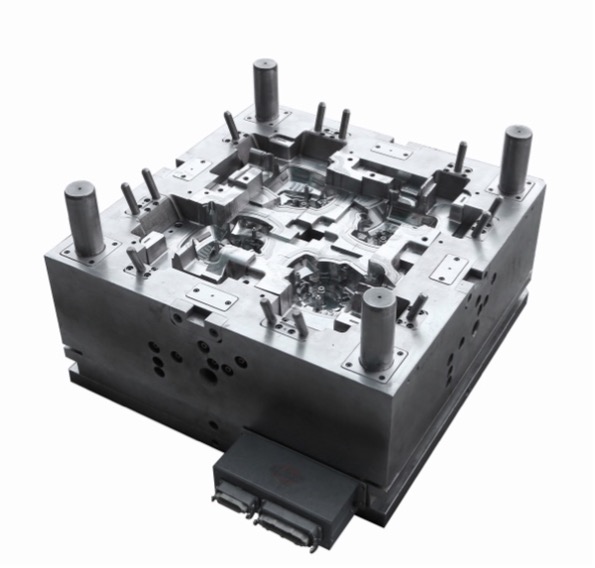
A Bit about the 2-Step Plastic Injection Mould Process
The 2-step plastic injection mould process is also called the multi-shape injection measure. The whole interaction relies on various kinds of plastics in just a solitary machining cycle. Thus, it turns into a critical interaction for multicolour, multi-material, and other complex plastic parts.
Some Common 2-Step Plastic Injection Mould Defects
There is a huge list of 2-step plastic injection mould defects. While some of them are easy to address, others can be extremely costly to fix. Let’s take a look at these defects below.
1. Flow Lines
The flow lines look like a wavy pattern with a slightly different color than the surrounding area. Moreover, you can generally spot them on narrower sections of the moulded product.
The main reason behind the formation of these lines is the variation that takes place in the cooling speed of the material. When it flows in different directions through the entire mould, flow lines may occur. In addition to this, differences in the thickness of the wall can also result in the material cooling down at different rates. This would leave flow lines behind.
So, if you want to avoid this problem, all you need to do is increase the velocity of the injection, material temperature, and pressure. This will ensure that the material fills the entire mould before its cooling.
2. Burn Marks
Burn marks are typically black or rusted marks or discolouration that appears on the surface or the edge of the plastic moulded part. Generally, these marks do not affect the integrity of the product as long as the plastic is not completely burned to the point of degradation.
One of the major causes of the burn marks in the 2-step plastic injection mould is the resin or the trapped air. When the resin overheats in the mould cavity during the process of injection, it then results in burn marks.
To avoid the defect of the burn marks in the moulded components, you should lower the mould and melt temperature to avoid the problem of overheating. Moreover, you can also reduce the speed of the injection. This will greatly reduce the chances of the trapping of the air inside the mould.
3. Warping
Warping is a distortion that can happen in injection moulded items when various pieces of a part recoil unevenly. Similarly as wood can twist when it dries unevenly, plastic and different materials can twist during the cooling system when lopsided shrinkage puts unnecessary weight on various spaces of the formed part.
One of the primary drivers for twisting in injection moulded plastic and comparative materials is that cooling happens excessively fast. Injection moulding imperfections like regularly unreasonable temperature or low warm conductivity of the liquid material can deteriorate the issue.
Different occasions form configuration can add to distorting when the dividers of the shape are not of uniform thickness—shrinkage increments with divider thickness.
You can very easily avoid warping in the moulded products. All you need to do is make sure that the cooling process is gradual and long enough. This will help you in preventing uneven stress on the material. Other than that, you can even try to lower the temperature of the mould or the material.
4. Sink Marks
Sink marks are small depressions or recesses on a flat surface of a moulded part. They occur during the process of a 2-step plastic injection mould.
These sink marks possibly occur if the inner part of a moulded product shrinks. That’s because when the component shrinks, it pulls out the material outside inward.
To avoid sink marks from occurring in the moulded products, you should increase the holding time and pressure. This will allow the material near the surface part to cool down. You can also increase the cooling time if you want to limit the shrinkage.
Final Words
If you are not careful during the process of the 2-step plastic injection mould, it can ruin your entire product. Therefore, it is extremely important to watch out for the defects and avoid them. Still, got any questions regarding the moulding process? Please feel free to contact us!
